Updating the QRP Labs QMX+ Firmware
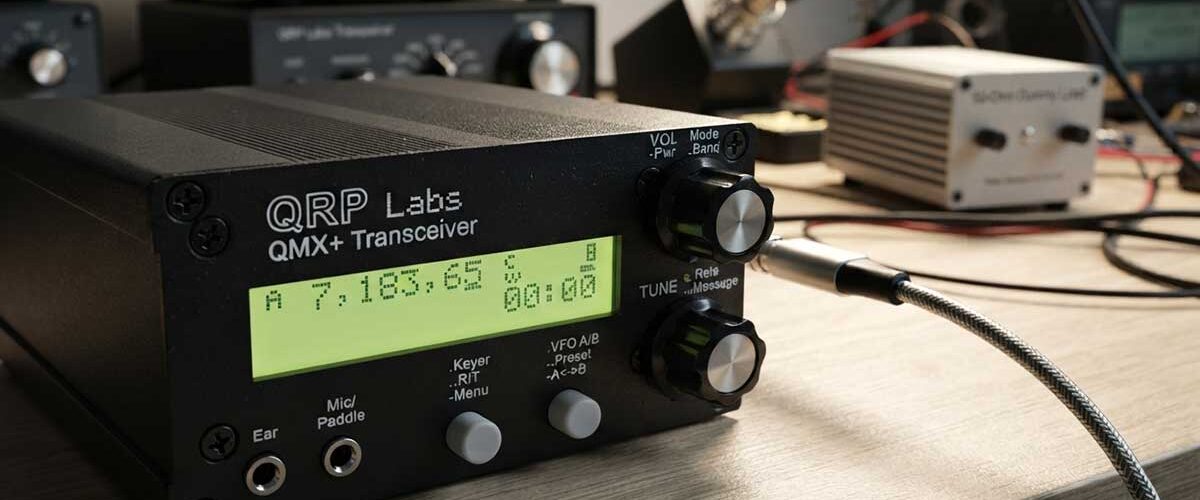
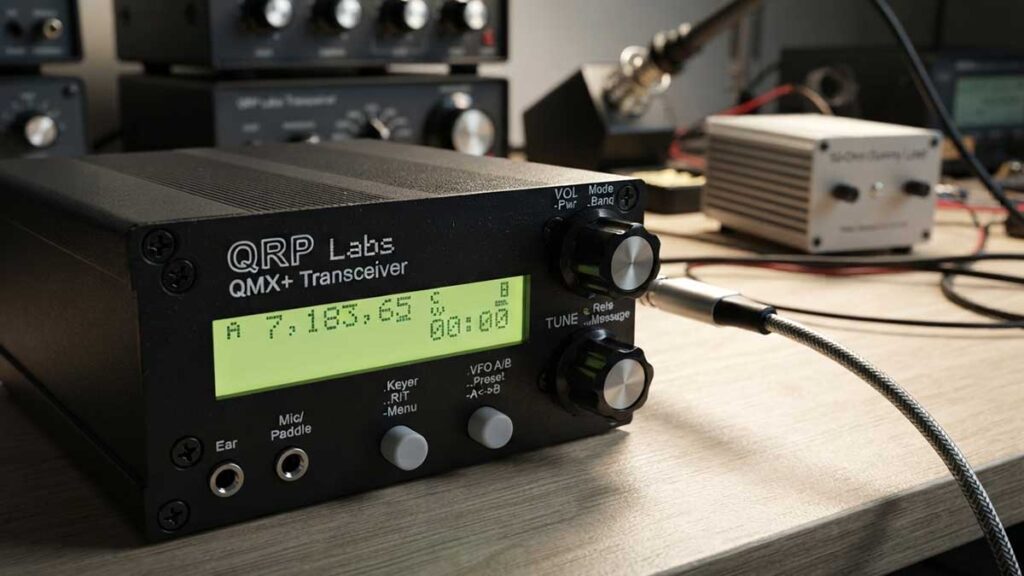
Have you assembled or purchased an assembled and tuned QRP Labs QMX+ transceiver?
Without a doubt, this is an extremely exciting moment for any radio amateur!
And as you may already know, due to the dynamic work of Hans Summers (G0UPL) and continuous improvements, updating the firmware is one of the first and most important operations you should perform right after unboxing or assembling it.
Many operators worry that a wrong step might fatally crash the radio and turn it into a useless pile of electronic components. The truth is that thanks to the special QFU (QRP Labs Firmware Update) technology, the process is exceptionally safe, fast, and requires no special drivers or external software.
In this article, we will cover how to safely update your QMX+, what to do if your screen turns off, and how to deal with potential troubleshooting scenarios.
1. Factory Reset
Before you begin: the vital step during a reset is selecting the correct hardware
Before proceeding with uploading the new firmware, it is highly recommended to save (or write down) your specific settings and reset the device to factory defaults. I am sharing my personal experience and advise you to do so. If you have concerns, please follow the official documentation!
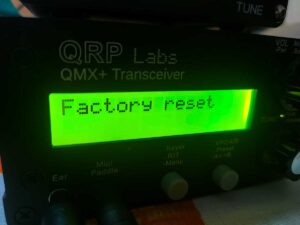
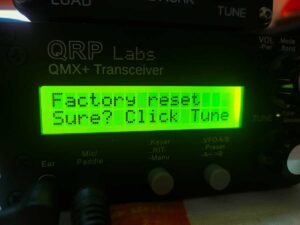
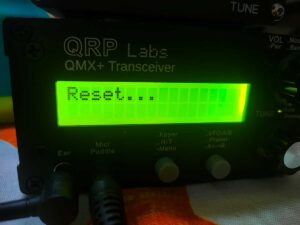
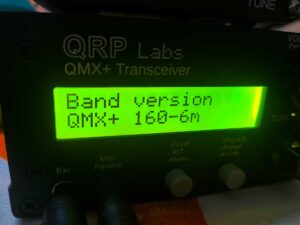
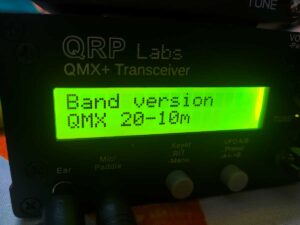
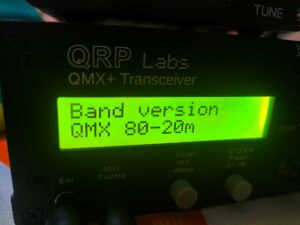
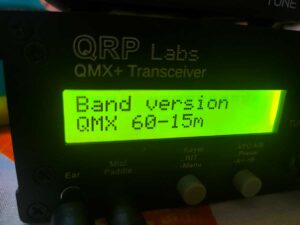
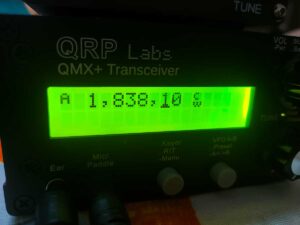
The QMX firmware is common to several hardware variations. When performing a reset, a menu will appear on the display after rebooting to select your specific model:
- QMX+ 160m – 6m (12-band version)
- QMX 20-10m (5-band: 20, 17, 15, 12, 11, and 10m)
- QMX 80-20 (5-band: 80, 60, 40, 30, and 20m)
- QMX 60-15 (5-band: 60, 40, 30, 20, 17, and 15m)
You must select the exact hardware variant of your board!
If you select the wrong model, the transceiver will not switch internal BPF/LPF filters properly, and output power on most bands will be limited to 0.1W to protect the final transistors.
2. Performing the Update
2.1. What is QFU (QRP Labs Firmware Update)?
The update system, based on the STM32 microcontrollers in the QMX, is designed to be as user-friendly as possible:
- No special software required: You don’t need programmers or specialized flashing apps.
- No driver installation: Standard USB Mass Storage (MSD) drivers built into every modern operating system are used.
- Cross-platform: The procedure is identical on Windows, Linux, and macOS.
- High security: Firmware files published on the QRP Labs website are encrypted using 256-bit AES algorithms and will only run on genuine QRP Labs hardware.
2.2. Three Ways to Enter Bootloader (QFU Mode)
To update the radio, it needs to enter bootloader mode. In this mode, the transceiver presents itself as a standard USB flash drive, with a few specific characteristics.
There are 3 ways to enter QFU mode:
Option A: Via the Radio Menu (Recommended)
- Press and hold the left button (Select / Keyer/RIT/Menu) to enter the main menu.
- Use the TUNE encoder (lower encoder on QMX+) to scroll to Update Firmware.
- Press Select again. The screen will display „Are you sure?“.
- Press the TUNE encoder (lower encoder on QMX+) to confirm.
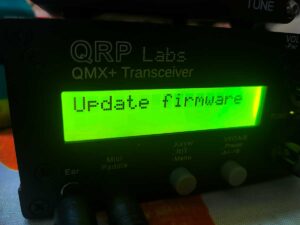
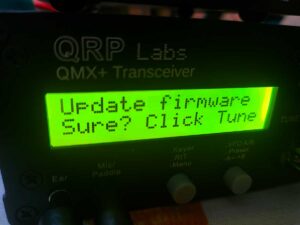
Option B: Via the QMX+ Terminal (PuTTY / Serial)
If you have connected the radio to a PC via virtual COM port, select the „Update Firmware“ option directly from the terminal text menu. In PuTTY, select Serial and the appropriate virtual COM port (check Windows Device Manager or OS equivalent). If the terminal screen is blank, simply press Enter. From there, navigate the menu tree until reaching the update option.
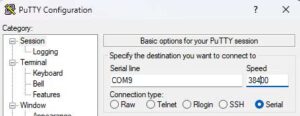
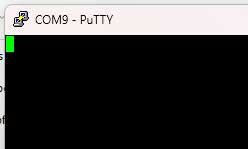
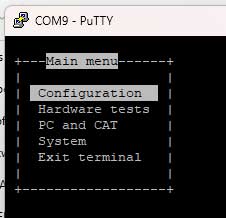
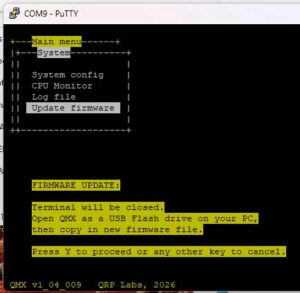
Option C: Hardware Jumper (Emergency Use)
If the firmware becomes corrupted and the radio is unresponsive, short the two pads located near the top edge of the board (under the LCD display in the top left corner) with a jumper wire and apply power. The radio will forcefully enter QFU mode. The designers state this should rarely be needed, but it remains a built-in recovery option.
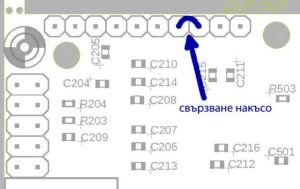
Regardless of which method you use, the screen turns off completely! It’s perfectly normal for the immediate reaction to be: PANIC! 😉
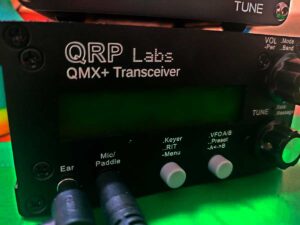
2.3. What Happens When QMX Enters Bootloader? (Don’t Panic!)
The moment QMX enters update mode:
- The LCD backlight TURNS OFF completely.
- The screen appears totally black / powered off.
- Buttons and rotary encoders stop responding.
No need to panic! This is completely normal and does not mean the radio is damaged! In this mode, the microcontroller operates solely as a USB flash drive.
Note: If your device simply turns off and doesn’t mount on your computer, hold down the Volume encoder (upper encoder on QMX+) while connecting the power/USB cable.
2.4. Step-by-Step: Copying the New File
Here is how to upload the latest firmware version once you have downloaded it:
- Connect to Computer:
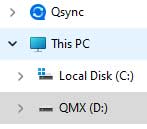
Connect QMX+ to your PC via USB cable and enter QFU mode. A new removable drive named „QMX“ (4MB capacity, FAT16 filesystem) will appear on your computer.
- View Drive Contents:
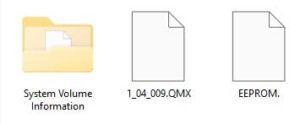
Inside the opened folder, you will see exactly two files:- Current firmware version (e.g.,
1_00_009.QMX– exact size 529 KB). You don’t need to save it, as older versions can always be downloaded. EEPROM– file containing your current settings. You can copy this to your computer as a backup.
- Current firmware version (e.g.,
- Download and Unzip New Firmware:
Download the latest firmware build from the official QRP Labs website. The file arrives as a.ZIParchive.
Be sure to extract the ZIP file on your computer! You should get a file with a.QMXextension. - Copying the File (Drag & Drop):
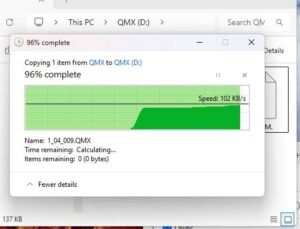
Drag (or copy) the new.QMXfile into the virtual QMX drive folder.The moment the file transfer completes, the QFU bootloader automatically erases the old program, writes the new firmware to memory, and reboots the radio! The process takes just a few seconds; ensure power remains uninterrupted during transfer.

2.5. Exiting Bootloader Mode
Bootloader mode can be exited in two ways:
- Automatically: After copying a valid
.QMXfile, the radio reboots on its own and turns on in normal operating mode running the new version. - Manually: If you entered mode without making changes, simply disconnect and reconnect power.
3. Troubleshooting
Even with straightforward procedures, unexpected situations can occur. Here is how to handle common issues:
- Radio turns off, but computer does not detect a USB drive:
- Try a different USB cable (ensure it supports data transfer, not just charging).
- Avoid USB hubs — plug directly into a computer USB port.
- Enter bootloader manually: Disconnect power, hold down the Volume encoder (upper encoder), and reconnect power/cable.
- File copied, but nothing happens:
- Make sure you unzipped the ZIP archive. Copying a
.ZIPfile to the virtual drive will not trigger an update. - Check filename format. Filename must not exceed 8 characters, extension must be
.QMX, with no spaces or special characters (due to FAT16 limits).
- Make sure you unzipped the ZIP archive. Copying a
- File manager gives an error during copy:
- Some OS environments (e.g., macOS) generate hidden system files (like
.DS_Store). Use standard Drag & Drop and avoid deleting files from the QMX drive — it is not a real storage device and deletion is unsupported.
- Some OS environments (e.g., macOS) generate hidden system files (like
- Output power dropped to 0.1W after update:
- Firmware reset or changed the hardware band matrix. Perform a Factory Reset from the menu and explicitly select your exact model (most likely QMX+ 160m–6m). Then run Diagnostic -> BIAS -> ON.
Resources and Useful Links
To stay informed on firmware updates and software tools, refer to official sources:
- ❖ Firmware downloads: http://qrp-labs.com/qmx
- ❖ QMX+ updates and documentation: http://qrp-labs.com/qmxp
- ❖ QRP Labs Discussion Group: https://groups.io/g/QRPLabs
- ❖ QMX+ topic tag search: https://groups.io/g/QRPLabs/search?q=%23QMXplus&ct=1
- ❖ Web Interface for QMX/QMX+ by Paul DJ0CU: https://github.com/Sparks72/QMX-Interface
Summary
The QFU system by QRP Labs makes updating your QMX+ firmware a fast, safe, and stress-free process. By following basic steps — unzipping firmware archives before copying and verifying hardware profiles after factory resets — your transceiver will always stay up-to-date with new features and enhancements.
Good luck with updates and 73!
Bibliography & Sources
- Summers, H. (G0UPL). QMX+ Transceiver Assembly & Operation Manual. QRP Labs, 2024.
- Summers, H. (G0UPL). QFU – QRP Labs Firmware Update Procedure Documentation. QRP Labs Technical Articles, 2023.
- QRP Labs Community Wiki & Forum Archives. Troubleshooting USB Audio, Envelope Errors and Band-pass Matrix Configurations for QMX Series Transceivers, 2023–2024.